Applying your decals is simple and effective. Check out our detailed guide for step-by-step instructions to ensure a flawless finish. With just a few common tools, such as scissors, a tape measure, and isopropyl alcohol, you’ll be equipped to apply your decals like a pro.

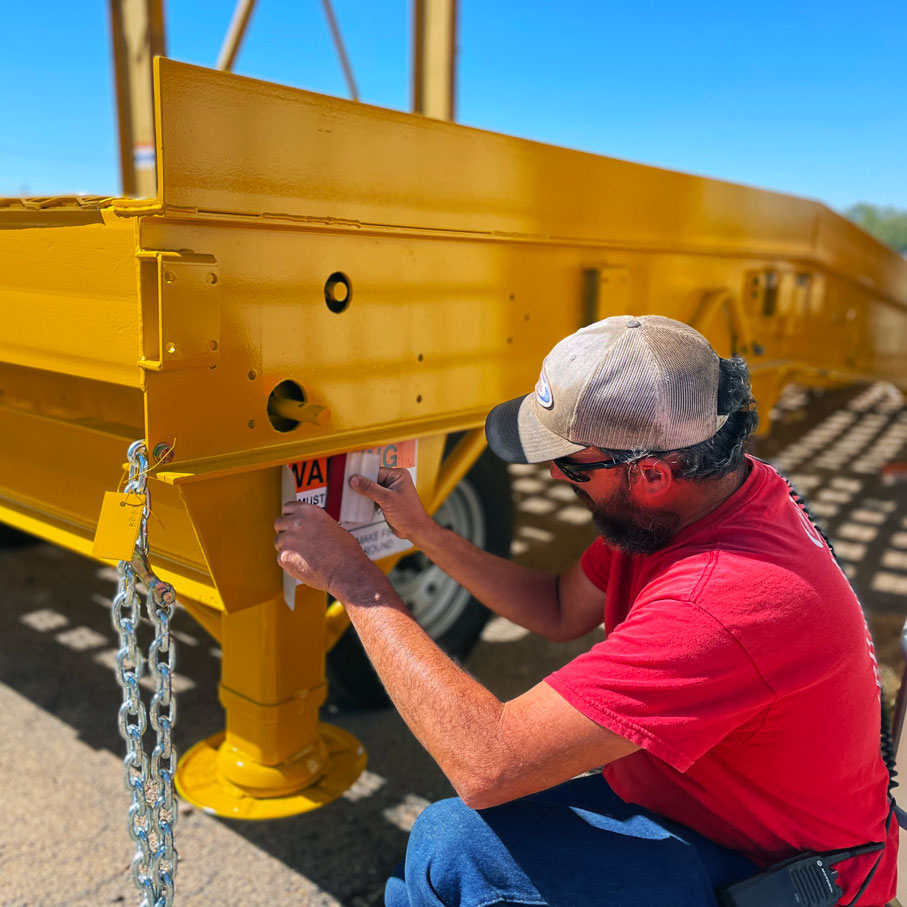
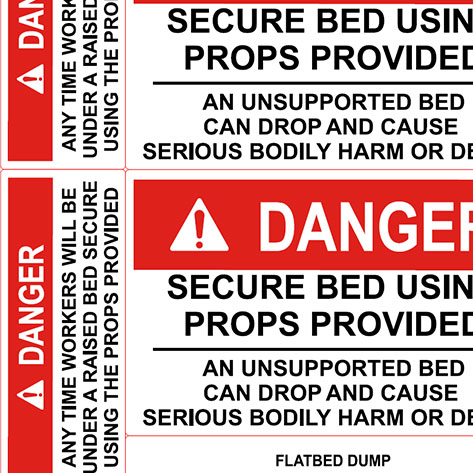
Easily Apply Truck Safety Decals
Decal Installation Tools Needed
- Scissors
- Paper Towels
- Tape Measure
- Plastic Applicator Squeegee
- Isopropyl Alcohol
- Warm Water or Common Household Cleaner
Things to Consider
Surface Texture: Our decals work best on smooth, non-porous surfaces like glass and metal. Due to our high-performance vinyl, they can last up to 8 years. Avoid rough surfaces.
Temperature: The ideal application temperature is between 60 and 74 degrees Fahrenheit. This is usually the average temperature of most businesses, but keep this in mind when applying decals in a garage or outdoors.
How To Apply Truck Safety Decals
1. Clean the surface thoroughly
Smooth, non-porous surfaces like glass or metal work best. Clean the area thoroughly, avoiding glass cleaner as it may leave a residue. Use isopropyl alcohol as a final cleaner to ensure no residue remains. Make sure the surface is dry.
2. Measure the area, and align your decal
Use a line of text as a reference point to ensure the decal is level.
3. Prepare the safety decal
Cut out the individual decal from the kit. Peel off the top half of the backing.
4. Apply the top half of the truck decal
Using a squeegee, press and apply the decal to the surface with a back-and-forth motion.
5. Apply the bottom half of the warning decal
Peel off the lower half of the backing. Press and apply the decal to the surface in the same back-and-forth motion.
6. Finish and admire your work!
Stand back and admire your work!Enjoy your beautifully applied decal! If you need further assistance, don’t hesitate to reach out to us. Ledwell experts are always here to help!

Ledwell Made Guarantee
We back every product with the Ledwell Made Guarantee.
When you become a Ledwell customer, one of the many services you can expect is express shipping. You don’t have to wait for parts. We manufacture more than 85% of our parts in-house and ship 99% within 24 hours of your request.
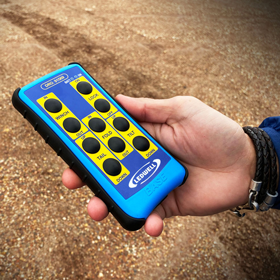
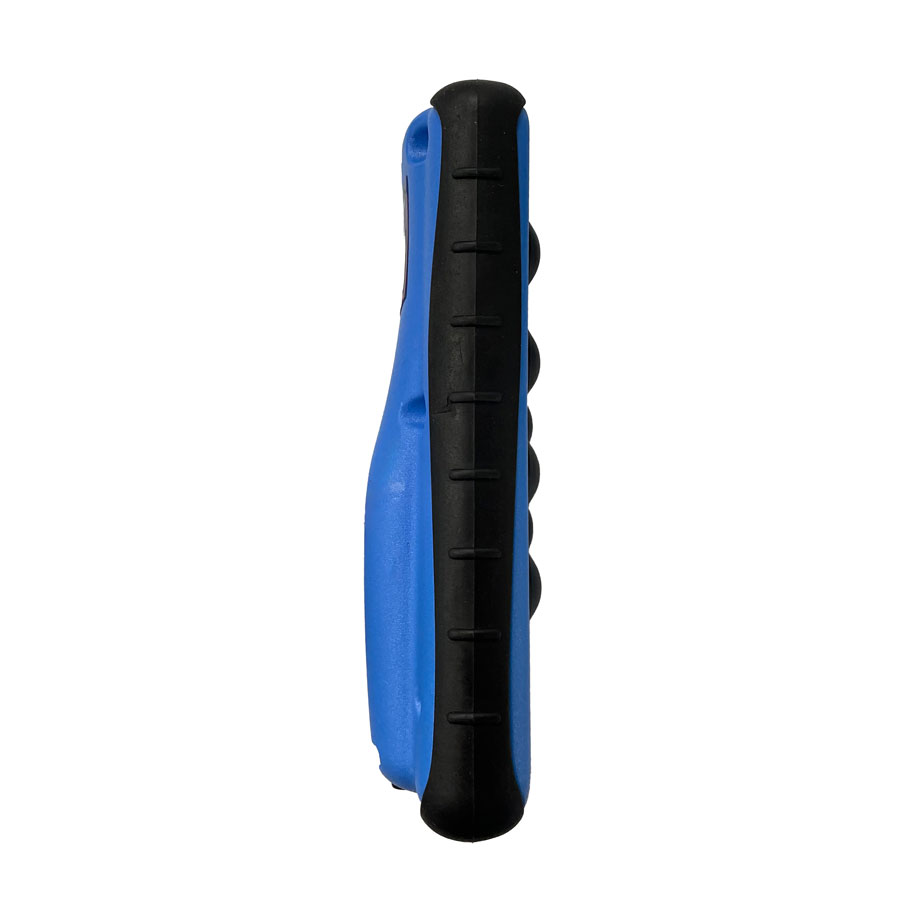
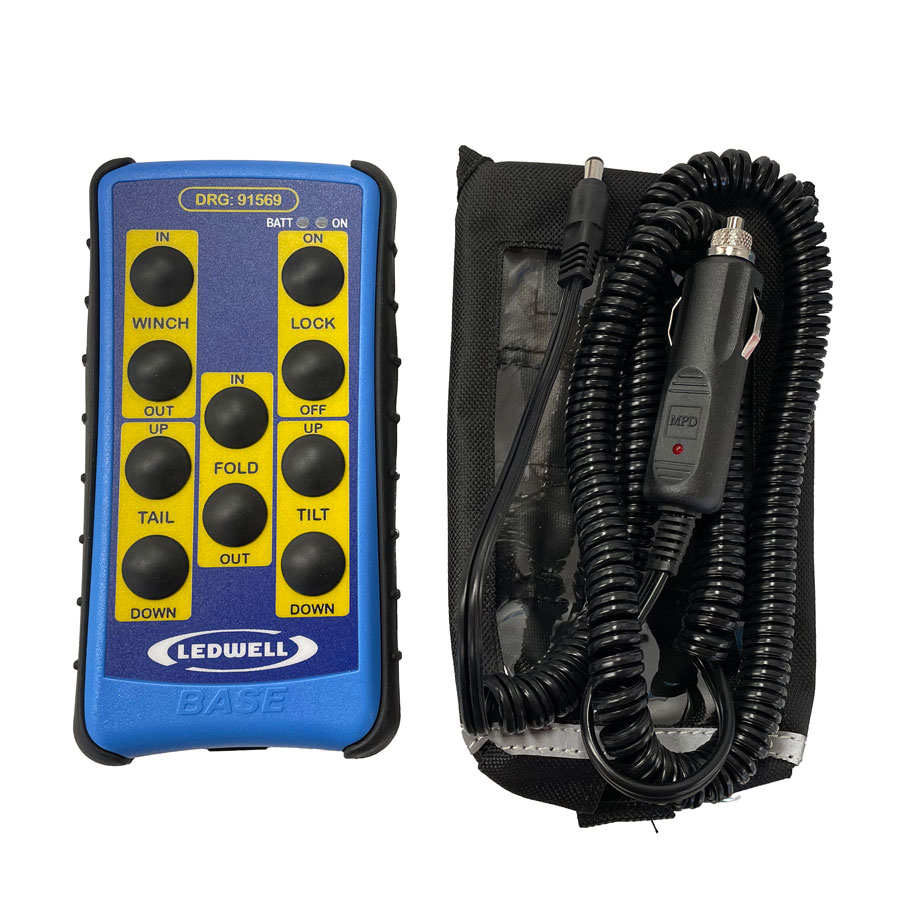
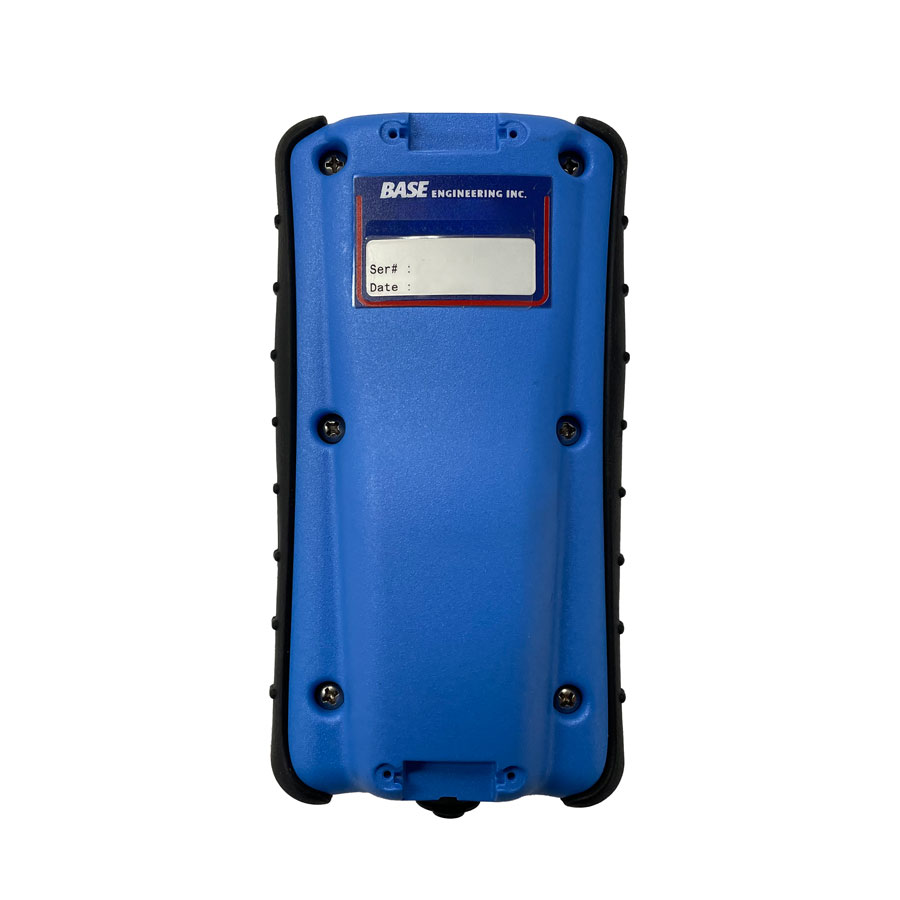
The Ledwell Hydratail Trailer Remote Kit is convenient for operating the Ledwell Hydratail trailer from a distance without cumbersome cords or cables. In this post, we will guide you on how to pair a Ledwell wireless remote with a receiver.
Before we begin, it’s important to note that no other remotes should be operated in the vicinity during the dedication process to pair a wireless remote, as it can cause issues with the pairing.
Additionally, the receivers can store two unique ID codes, allowing the use of two different wireless remotes.
Step 1: Power up the receiver
To begin the pairing process, ensure the receiver mounted to the equipment is powered up and ready to receive signals.
Step 2: Locate the setup button
Next, find the green ‘SETUP’ button on the bottom of the receiver. The button should be easily identifiable and marked as ‘SETUP.’
Step 3: Press the setup button five times
Press the ‘SETUP’ button quickly, five times. The blue ‘POWER/ACTIVITY’ light will blink five times to confirm the correct process.
Step 4: Press the setup button once
Then, press the ‘SETUP’ button one more time. The ‘POWER/ACTIVITY’ light will blink once, indicating that the receiver is ready to receive a signal from the remote.
Step 5: Press any button on the remote
Press any button on the wireless remote that will be used with this receiver for at least two seconds. The ‘POWER/ ACTIVITY’ light on the receiver will blink approximately six times, indicating that the code has been learned. If the remote has an ON/OFF button, use the ON button in this step.
Step 6: Dedication process for second remote (optional)
If a second handheld remote requires dedication, proceed to step 7. If not, the dedication process is complete.
Step 7: Press the setup button five times again
Press the ‘SETUP’ button on the receiver five times quickly. The blue ‘POWER/ACTIVITY’ light will blink five times to confirm the correct entry.
Step 8: Press the setup button twice
Next, press the ‘SETUP’ button two more times. The ‘POWER/ ACTIVITY’ light will blink twice, indicating that the receiver is ready to receive a signal from the second wireless remote.
Step 9: Press any button on the second remote
Press any button on the second handheld remote that will be used with this receiver for at least two (2) seconds. The ‘POWER/ ACTIVITY’ light on the receiver will blink approximately six times, indicating that the code has been learned.
And that’s it! The dedication process to pair a wireless remote is complete, and the wireless remote should be paired with the receiver. Repeat the above steps if you need to pair another remote. If you encounter any issues with pairing, review our frequently asked questions or contact Ledwell for assistance.

Ledwell Made Guarantee
We back every product with the Ledwell Made Guarantee.
When you become a Ledwell customer, one of the many services you can expect is express shipping. You don’t have to wait for parts. We manufacture more than 85% of our parts in-house and ship 99% within 24 hours of your request.
Transmitter Specifications
| Frequency of Operation | 902-928MHz FHSS (433.92 ASK, 869.7 EUR option, and 2.4GHz DSS available) |
| Transmitter Power | 100mW |
| Method of Transmission | 56-bit DES encryption key |
| Antenna | Internal ‘on card’ PCB mount (no visible antennas to damage) |
| Normal Range | 500 feet (up to 1000ft available with an external antenna on the receiver) |
| FCC Approval # | KQLAC4490-100 (non-licensed) |
| Construction | Rugged weatherproof polymer enclosure |
| Temperature Specifications | Minus 20 F to 185 F |
| Battery Life | 30 hours continuous | audible low battery warning | flashing low battery indicator |
| Battery Type | Rechargeable Lithium Ion included with 12/24VDC charger (2 ‘AA’ batteries for ASKW) |
| ROHS Lead-Free Compliant | Yes |
Receiver Specifications
| Frequency of Operation | 902-928MHz FHSS (433.92 ASK, 869.7 EUR option, and 2.4GHz DSS available) |
| Power Supply | 12/24VDC (Optional 120VAC systems available) |
| Current Load | Up to 4 Amps @ 12VDC per channel or 8 Amps DC per system total |
| Construction | Rugged weatherproof polycarbonate enclosure |
| Antenna | Internally protected and encased (optional external antenna/coax available) |
| Wiring Connection | Pre-wired harness to meet OEM requirements, quick connect fittings supplied |
| Programmable Modes | Up to 12 programmable channels, including Latched, Momentary, Enable, and Interlock modes (custom OEM programming available) |
| CAN bus Communication | Optional J1939 interface to OEM machine network |
| Total System Weight | 2lbs |
| ROHS Lead-Free Compliant | Yes |
HydraTail Trailer Remote Transmitter and Receiver FAQS
How do you pair a wireless remote to equipment?
Before beginning the procedure, make sure there are no other transmitters in the vicinity being operated, as this can cause issues with the dedication process.
Note that these receivers have the capability of storing two (2) unique ID codes, allowing the use of two (2) different transmitters.
1. Power up the receiver.
2. Locate the green ‘SETUP’ button on the bottom of the receiver as shown in the image to the right.
3. Press the ‘SETUP’ button 5 times quickly. The blue ‘POWER/ACTIVITY’ light will blink 5 times to confirm the correct entry.
4. Press the ‘SETUP’ button once. The ‘POWER/ACTIVITY’ light will blink once.
5. Press any button on the transmitter that will be used with this receiver for at least two (2) seconds. The ‘POWER/ ACTIVITY’ light on the receiver will blink approximately 6 times, indicating that the code has been learned. (Note that on handhelds with system ON/OFF buttons, the ON button must be used in this step).
6. If a second handheld requires dedication, go to step 7. If not, the dedication process is complete.
7. Press the ‘SETUP’ button 5 times quickly. The blue ‘POWER/ACTIVITY’ light will blink 5 times to confirm the correct entry.
8. Press the ‘SETUP’ button twice. The ‘POWER/ ACTIVITY’ light will blink twice.
9. Press any button on the transmitter that will be used with this receiver for at least two (2) seconds. The ‘POWER/ ACTIVITY’ light on the receiver will blink approximately 6 times, indicating that the code has been learned. The dedication process is now complete
Why isn’t the power light activating on my receiver?
Check your 7-way pigtail from the truck to the trailer for power. When the center pin is blue, you have power. If it is not, unplug the 7-way from the back of the truck and check the fixed plug on the truck for power. If there is no power, check for a blown fuse.
When I push buttons on my wireless remote, there are no lights.
There are two possibilities. Either your battery needs charged or you need a new battery. Try charging it. If there is no change, contact Ledwell.
My handheld remote and receiver seem to be pairing, but they are not operating my equipment.
Your air solenoids may be malfunctioning. Each solenoid has a button at its center. Use those to manually operate the air solenoids and ensure their responsiveness.
DO NOT ENGAGE THE PTO WHILE PERFORMING THIS TEST. AIR ONLY.
If there is still no operation, check the twist lock connector for corrosion on the pins.
There is no response when I push buttons on my Base remote, but I’ve just replaced the battery.
When you’re sure the battery is good and the remote has been charged, contact Ledwell. Your hand-held is most likely will need to be replaced.
Can I replace just the handheld portion of the wireless remote system?
Yes, we offer replacements for handheld wireless remotes. Contact our Parts Department to order.
Once you receive your new remote, you will need to pair it with the transmitter mounted on your equipment.


