Rollback Trucks for Sale
Heavy Duty Rollback Trucks
Power That Hauls Through Anything
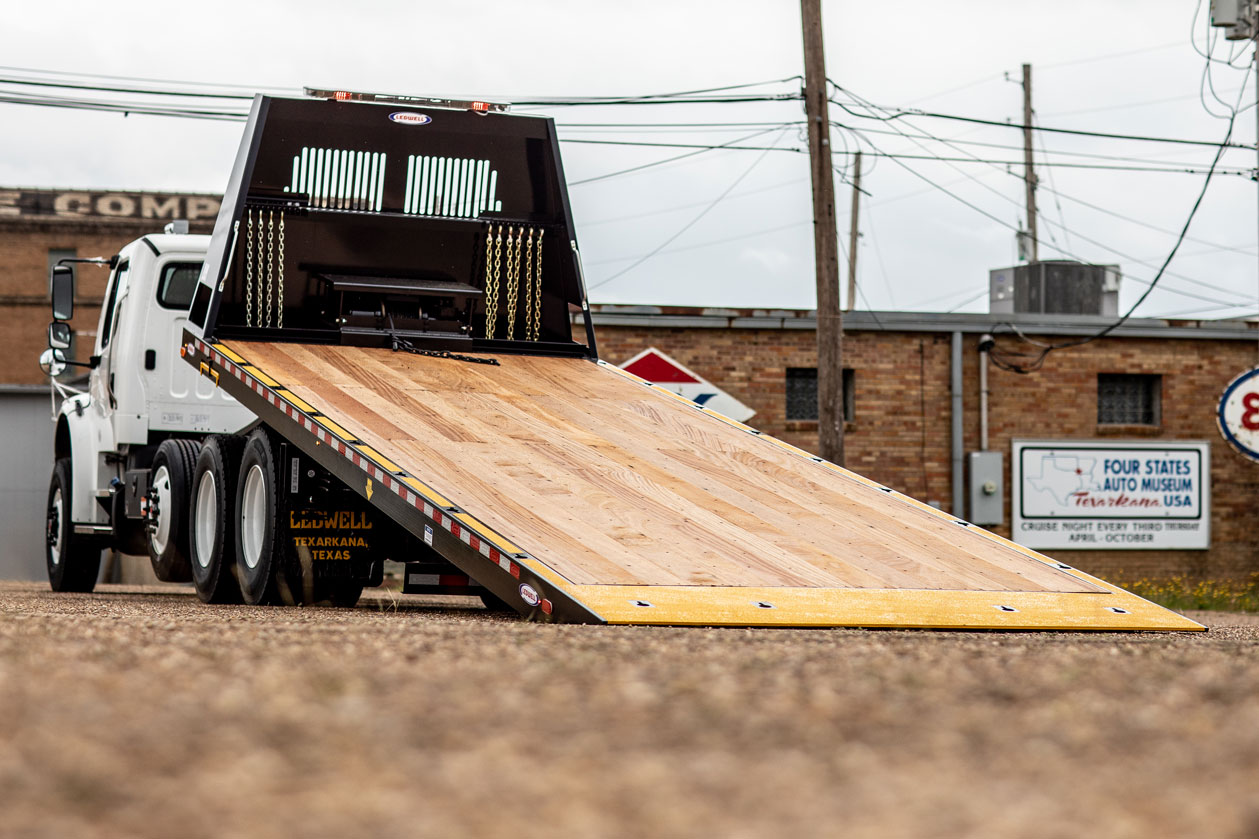
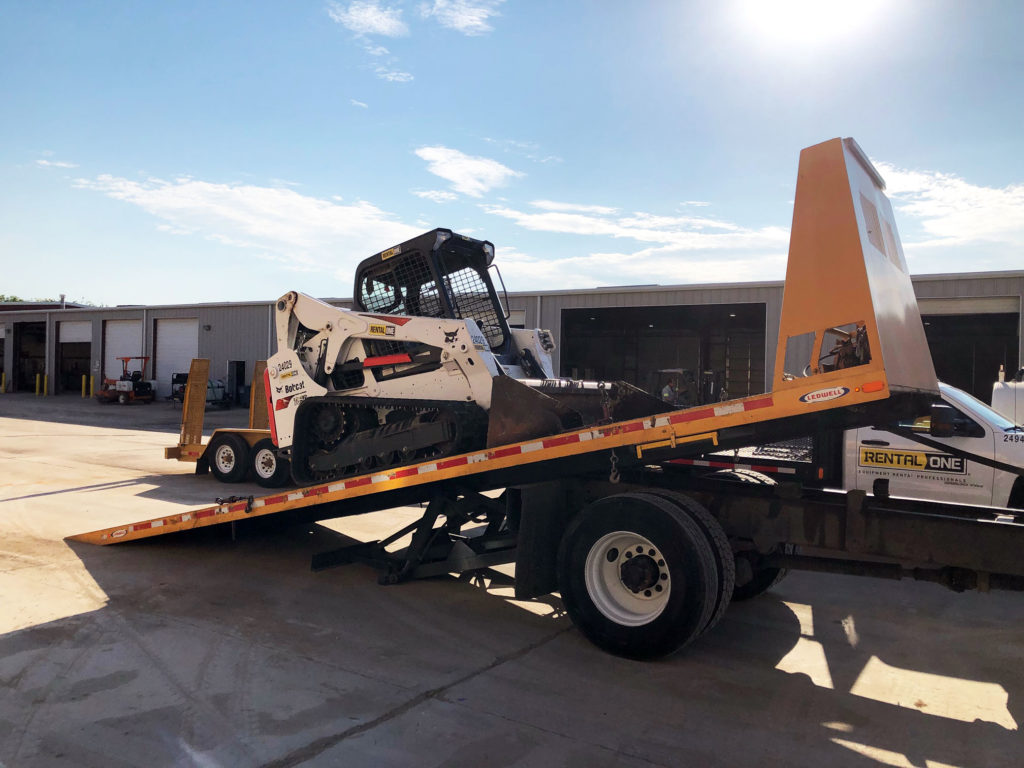
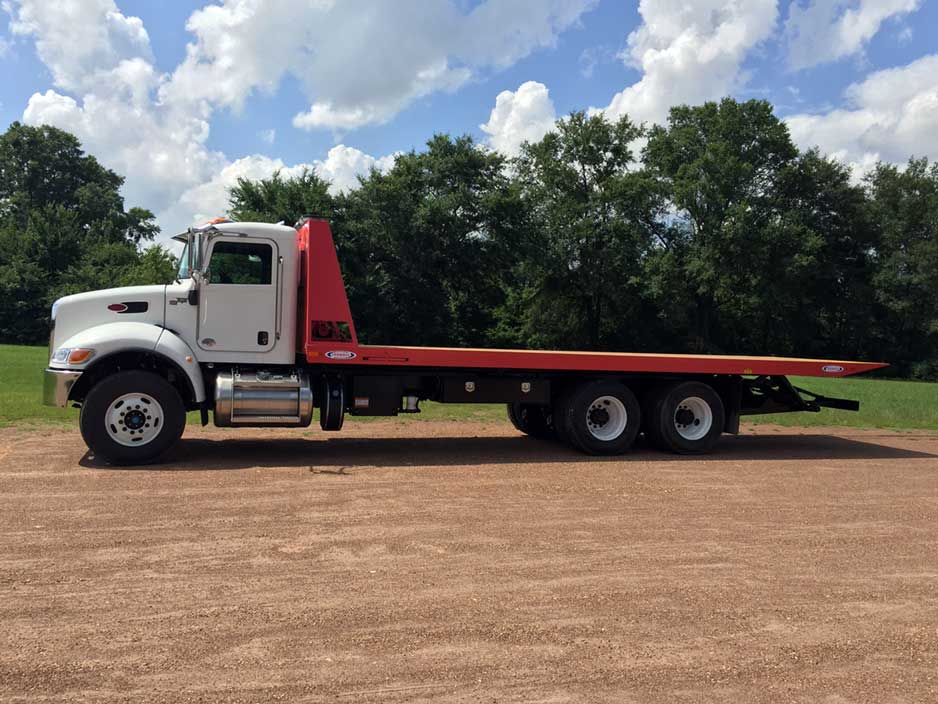
When the job calls for hauling serious weight, our Heavy Duty Rollback answers. Built from high-strength steel, it’s made for rough roads and long hours. The Hybrid Rollback, with its double-acting hydraulic cylinders, handles uneven terrain with ease, making loading and unloading smoother and safer.
Key Features:
Rugged steel construction
Available in multiple bed lengths
Smooth, controlled bed motion with hybrid hydraulic system
Built to perform in harsh environments
Backed for the long haul.
Need parts down the road? We keep Heavy Duty Rollback replacement components in stock and ready to ship fast.
Medium Duty Rollbacks
The Workhorse of Your Fleet
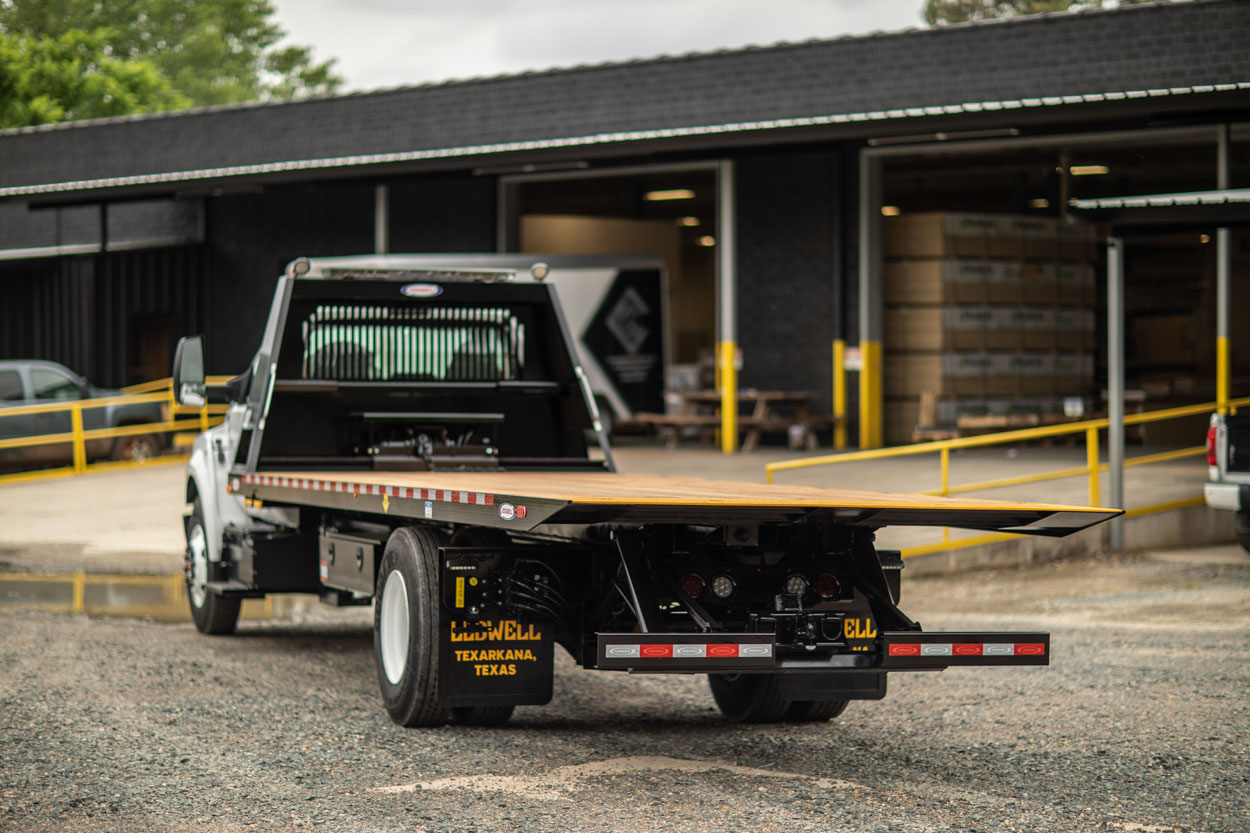
Reliable, adaptable, and made to last. Our Medium Duty Rollback is the go-to choice for fleet managers who need dependable performance. Whether you choose the standard or Hybrid version, this truck gets the job done, day in and day out.
Why Customers Choose It:
Ideal for multi-purpose fleet use
Custom lengths available
Hybrid hydraulic option for seamless operation
Fastest delivery in the industry
Ready for work and easy to maintain
Replacement parts for all Medium Duty Rollback models are available with fast shipping, so your fleet stays rolling.
Machinery Moving Rollback
Muscle Meets Precision
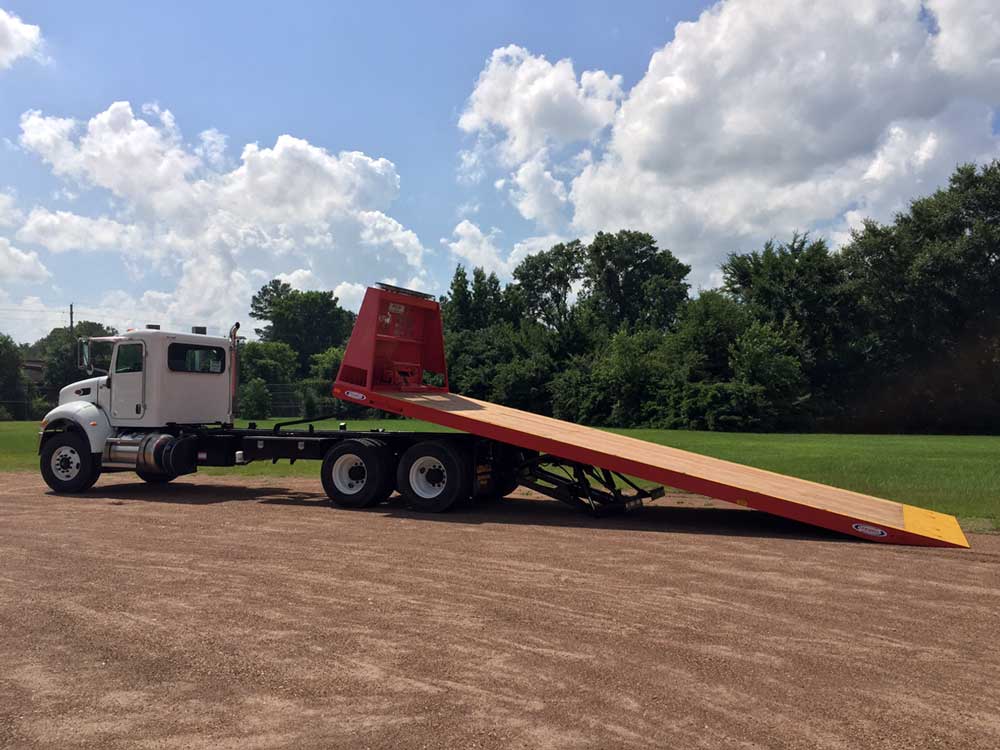
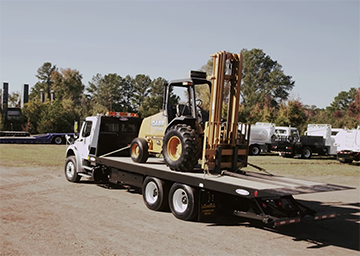
Need to haul heavy machinery without the headache? The Machinery Moving Rollback offers the same intuitive controls as our other rollbacks, but with beefed-up specs to handle oversized, high-weight loads.
Designed For:
Engineered for uncompromising load strength
Reliable performance, even in the toughest conditions
Handles your heaviest equipment without compromise
Available in 28′ or 30′ lengths
Serious strength. Simplified upkeep.
We stock replacement parts for every Machinery Mover we build, because downtime isn’t an option.
”Rollback is fabulous!! We love it. Trust me if I need something you're my first call.
Greg StephensPresident, AM Stephens Construction

Ledwell Made Guarantee
We back every product with the Ledwell Made Guarantee.
When you become a Ledwell customer, one of the many services you can expect is a solid partnership. Our strong industry partnerships work in your favor. When you need a hand, we mobilize our network to help you get priority service worldwide.
Ledwell Rollback Trucks
Get the Latest from Ledwell
Sign up for our Nuts & Bolts newsletter to stay in the loop on equipment, helpful tips, and what’s happening around the shop.
Rollback FAQ
How do I operate a Ledwell Rollback?
Watch this or read below to operate your Ledwell Rollback correctly to extend the life of the bed.
To get started, walk around the entire truck to inspect the following: Hydraulic & Air Hoses, Winch & cable system, Lights, Flooring, and Wheels & Tires. Make sure the truck is on level ground.
Position truck far enough in front of the payload to roll bed back.
Engage PTO inside the cab.
Dump the rollback suspension. Chock the wheels.
If using Ledwell’s wireless remote to operate:
Push Stabilizer Down to lower stabilizer until it rests firmly on the ground.
Push Rollback Off to slide the bed towards the rear of the truck until the arrow indicator decal is behind mud flaps.
Push Bed Lift Up to adjust the angle of the bed.
Load at the lowest possible angle for safety.
Alternate sliding and adjusting angle of bed until firmly on the ground Load Equipment and remember to set the parking brake.
Secure equipment to the rollback with preferred tie-downs.
Be sure each piece is tied down at four points to secure properly.
To unload, reverse the process.
What size load can I haul on my Rollback?
A 28’ Rollback bed is designed for a 30,000 lb. load evenly distributed. Care must be taken with hard tired equipment as this causes a high point load on the bed between the cross members. Always load in center of the bed over the bed rails for maximum carrying safety.
Why is my bed noisy and loose when operating?
Your bed moves and is supported on nylatron bearing pads located on the main bed rails both inside and outside the flanges.
These require a liberal greasing of both the flanges, center web of the beam, and top pads of the truck frame rail with NLGI G#2 specification waterproof grease monthly. A small paint roller works well for this.
When the truck receives PM, that is a good time to grease all points.
Why does my bed operate slowly and stall out against a load?
Your truck has a 17GPM Hydraulic pump set to produce 2100 PSI at the relief. Slow operating and stalling are signs your pump may be getting weak.
A weak pump will not produce enough flow or pressure because it is bypassing internally, which will make the oil heat up more than usual.
Staling could also mean overloading if you hear the pressure relief bypassing.
Winch FAQ
What is the proper way to operate a winch?
This video will teach you how to correctly operate a hydraulic winch to load or unload equipment on any manufactured Ledwell truck body or trailer, or follow the steps below.
To get started, inspect the following: Overhead & ground obstructions and winch cable for breakage.
Engage PTO inside the cab.
Dump the air suspension of the truck or trailer. Chock the wheels.
If using Ledwell’s wireless remote to operate:
Push Winch Out to reel out the winch.
Pull the chain through the tow hook and secure it.
Push Winch In to reel in the winch.
Load Equipment and remember to set the parking brake.
Secure equipment with preferred tie-downs.
Be sure each piece is anchored at four points to secure properly.
To unload, reverse the process.
How long is my winch cable?
A standard winch mounted on any Ledwell truck is 5/8″ x 50′ while those mounted on any Ledwell trailer are 5/8″ x 75′.
Wireless Remote FAQ
How do you pair a wireless remote to equipment?
Before beginning the procedure, make sure there are no other transmitters in the vicinity being operated, as this can cause issues with the dedication process.
Note that these receivers have the capability of storing two (2) unique ID codes, allowing the use of two (2) different transmitters.
1. Power up the receiver.
2. Locate the green ‘SETUP’ button on the bottom of the receiver as shown in the image to the right.
3. Press the ‘SETUP’ button 5 times quickly. The blue ‘POWER/ACTIVITY’ light will blink 5 times to confirm the correct entry.
4. Press the ‘SETUP’ button once. The ‘POWER/ACTIVITY’ light will blink once.
5. Press any button on the transmitter that will be used with this receiver for at least two (2) seconds. The ‘POWER/ ACTIVITY’ light on the receiver will blink approximately 6 times, indicating that the code has been learned. (Note that on handhelds with system ON/OFF buttons, the ON button must be used in this step).
6. If a second handheld requires dedication, go to step 7. If not, the dedication process is complete.
7. Press the ‘SETUP’ button 5 times quickly. The blue ‘POWER/ACTIVITY’ light will blink 5 times to confirm the correct entry.
8. Press the ‘SETUP’ button twice. The ‘POWER/ ACTIVITY’ light will blink twice.
9. Press any button on the transmitter that will be used with this receiver for at least two (2) seconds. The ‘POWER/ ACTIVITY’ light on the receiver will blink approximately 6 times, indicating that the code has been learned. The dedication process is now complete
Why isn’t the power light activating on my receiver?
Check your 7-way pigtail from the truck to the trailer for power. When the center pin is blue, you have power. If it is not, unplug the 7-way from the back of the truck and check the fixed plug on the truck for power. If there is no power, check for a blown fuse.
When I push buttons on my wireless remote, there are no lights.
There are two possibilities. Either your battery needs charged or you need a new battery. Try charging it. If there is no change, contact Ledwell.
My handheld remote and receiver seem to be pairing, but they are not operating my equipment.
Your air solenoids may be malfunctioning. Each solenoid has a button at its center. Use those to manually operate the air solenoids and ensure their responsiveness.
DO NOT ENGAGE THE PTO WHILE PERFORMING THIS TEST. AIR ONLY.
If there is still no operation, check the twist lock connector for corrosion on the pins.
There is no response when I push buttons on my Base remote, but I’ve just replaced the battery.
When you’re sure the battery is good and the remote has been charged, contact Ledwell. Your hand-held is most likely will need to be replaced.
Can I replace just the handheld portion of the wireless remote system?
Yes, we offer replacements for handheld wireless remotes. Contact our Parts Department to order.
Once you receive your new remote, you will need to pair it with the transmitter mounted on your equipment.


