


Easily Install a Tarp on Your Truck
Whether you’re installing your first tarp or you’ve done it a hundred times, this quick guide breaks it down into simple steps to help you get the job done right—fast and hassle-free.
Tarp Kit Installation Tools Needed
- Tarp Spring Assemblies (2)
- Tarp Bow Set
- Tarp Chain: 10′ box (10)
- Tarp
- Bearings for Tarp Rod (2)
- Tarp Rod Assembly
- Driver Side Bearing Bracket
- Passenger Side Bearing Bracket
- Chain Guard
- Gearbox
- Handle
Need a Hand?
If something doesn’t look quite right or you just want to double-check a step, don’t sweat it. Give us a call or shoot us an email and we’ll walk you through it.
We don’t just build tarp kits. We stand behind them every step of the way.
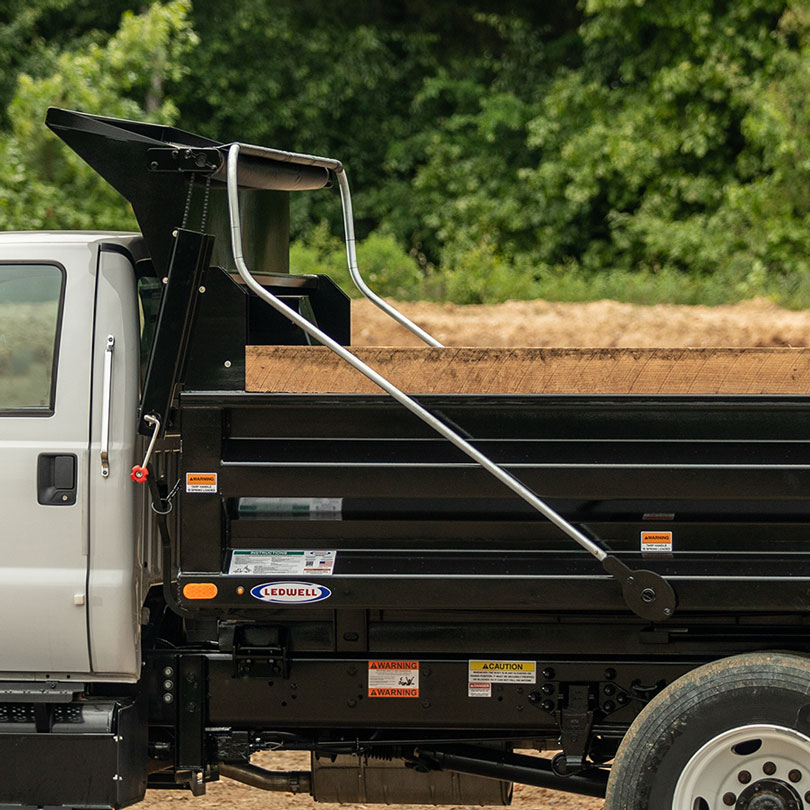
How To Install A Dump Truck Tarp Kit
1. Mount the Brackets
- Attach the tarp rod brackets to the cab shield.
- Driver side: Use bracket with slotted holes.
- Passenger side: Use bracket with round holes.
- Secure each with the supplied 1 ¾” bolts.
2. Install the Bearings
- Bolt the nylatron bearings onto the inside of each bracket. One per side.
3. Prep the Tarp Rod
- Passenger Side: Slide on a 1” set collar.
- Driver Side: Slide on the sprocket first, then the 1” set collar.
- Insert the tarp rod into the brackets, spacing it evenly.
- Set collars should rest snug against the nylatron bearings. Tighten down the allen set screws.
4. Add the Chain
- Connect the chain from the chain block to the driver-side sprocket using the master link.
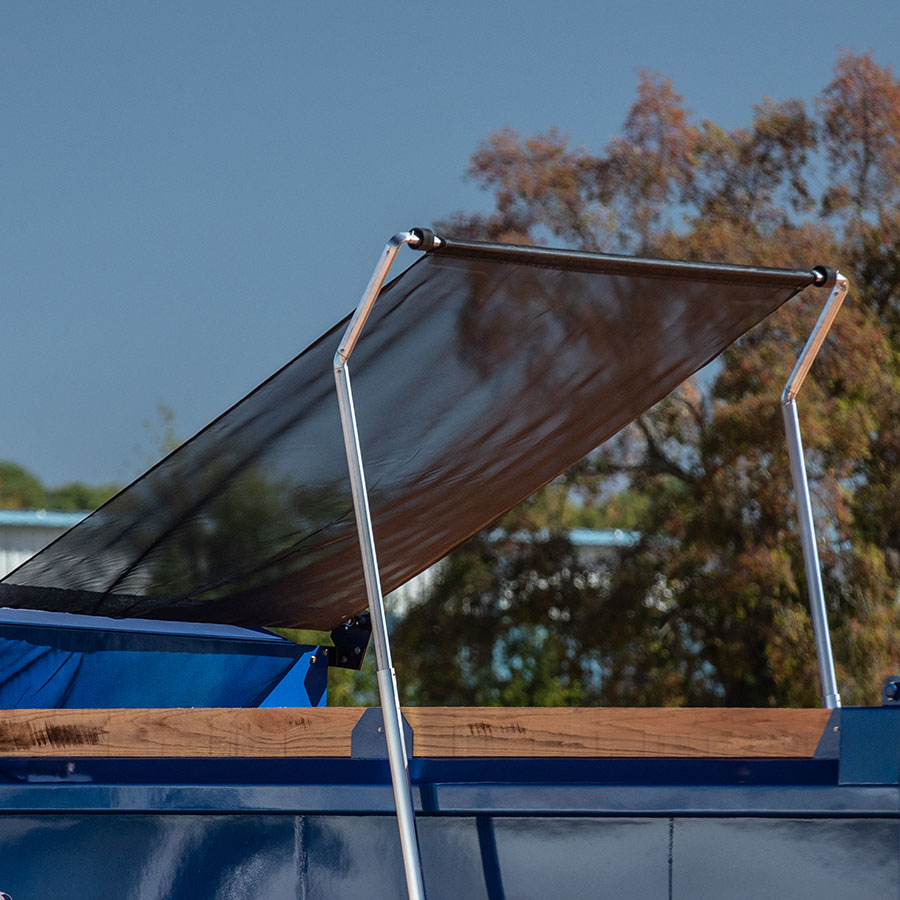
5. Fit the Tarp
- Unroll the vinyl tarp.
- Slide the rear bow into the rear pocket of the tarp.
- Lay it at the back of the bed and stretch the tarp forward.
- The front pocket should face the tarp rod.
6. Attach the Tarp to the Rod
- Slide the tarp rod out from the passenger bracket.
- Feed the tarp’s front pocket onto the rod.
- Slide the rod back into place and secure it.
7. Mount the Rear Bow
- Insert the rear bow onto the spring arms at the rear.
- Line up holes on the bow with the spring arm and drill a bolt hole if needed.
8. Secure the Tarp
- Drill five evenly spaced 1/8” holes through the tarp and into the tarp rod.
- Use the supplied screws and washers to secure it.
Final Check
- Set collars and sprocket should be tight and flush with the bearings.
- Tarp should be centered and smoothly operate with no snags.
- Chain should be tensioned properly and guard installed if provided.

Ledwell Made Guarantee
We back every product with the Ledwell Made Guarantee.
When you become a Ledwell customer, one of the many services you can expect is express shipping. You don’t have to wait for parts. We manufacture more than 85% of our parts in-house and ship 99% within 24 hours of your request.